Father's Day Tool Belt

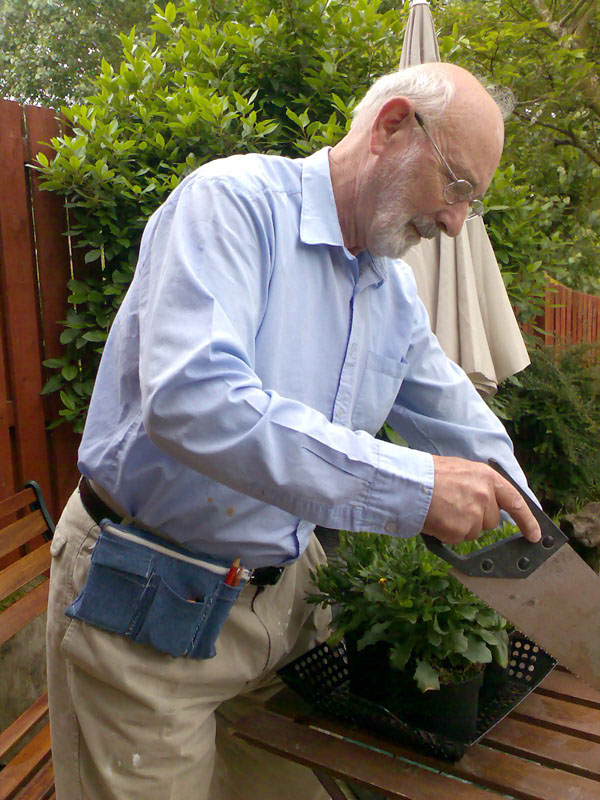
Do you have a sewing machine? Are you looking for a creative gift to give your handy-man father this year? Follow this tutorial courtesy of Craftster.org.


1. Cut out all the pieces

2. Now take one large piece and 1 of the Pocket C pieces.

3. Fold the Pocket C piece in half and cut.

4. Sew round each piece and attach to back piece show in next diagram to make belt loops.


5. Taking the other Pocket C piece, fold down and sew the top by about a 10 or 15 mm, to make a finished edge and put this to the side for a minute also.

6. Now pick up the two Pocket A pieces.

7. Make a finished edge on the top of one of the pieces just like you did for Pocket C and add a snap fastener or button if preferred.

8. Take the other Pocket A piece and fold it so it is half its height. This makes the flap for Pocket A. You can attach the other half of the snap fastener now or wait a bit and add a button hole.


9. Take the other large piece and work out where to attach your zip.

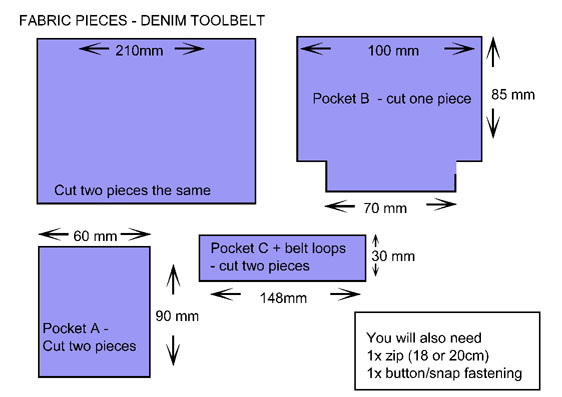
You can do this by laying out all the pockets side by side and remembering to allow 15mm all around for a seam allowance. Like so:


10. To attach the zip I use this technique only I don’t use a lining. Just cut your opening, iron the folds, pin in your zip and sew in place.

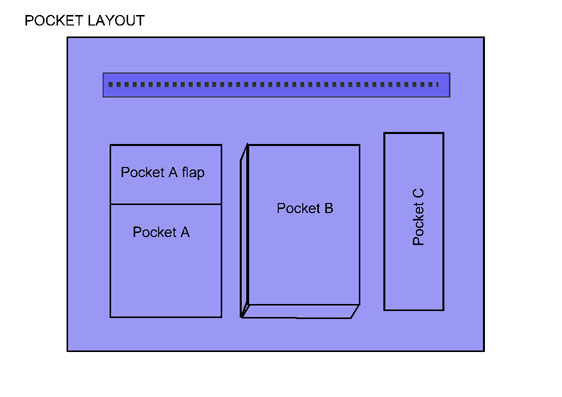
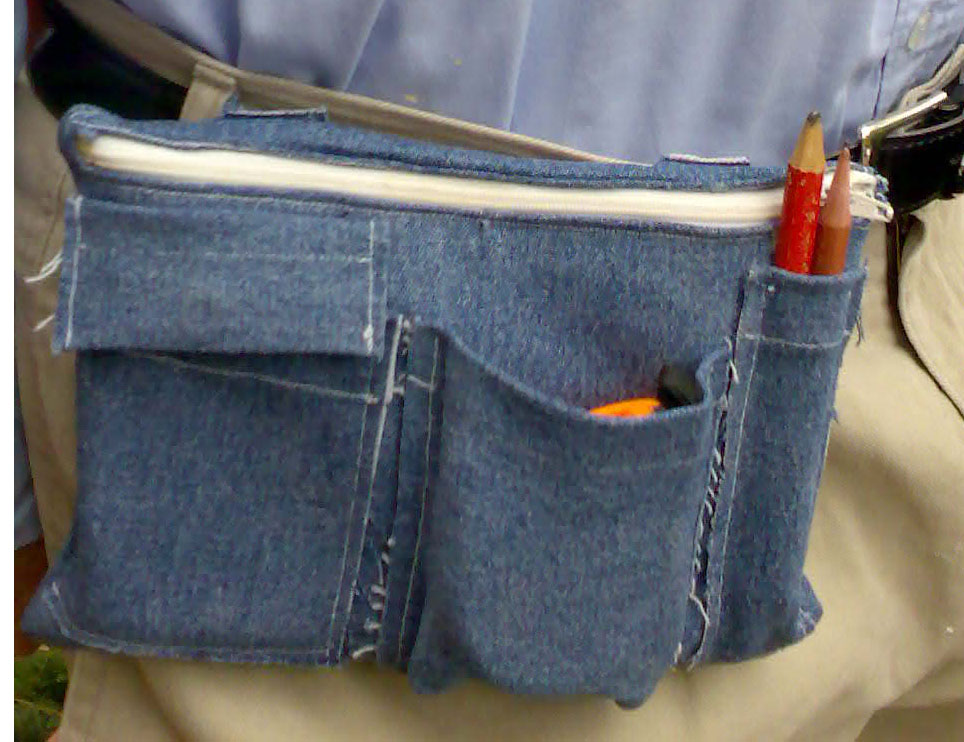
11. Now you can start attaching the pockets. Place them where they are meant to go and sew around using a smallish stitch. Don’t worry about the raw edges, they will fray nicely in time.


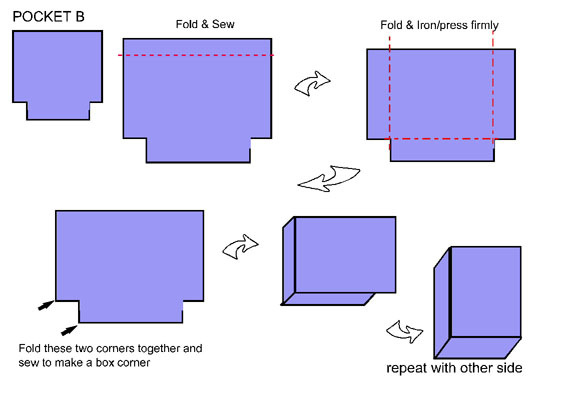
Work from one side to the other starting with Pocket C. Pocket B can be a little fiddly, just pin the center front of the pocket where it is mean to go and squash the 'box' corners as you go around them - remember that this is a pocket with depth so sew the edges to allow the pocket to 'belly' open. Don’t try to sew it completely flat like the other two pockets.


12. Finally pin the two large pieces together face to face and sew all the way around. Don’t forget to leave the zip open so you can turn it the right way round!!